Authoring documents in Typst
July 9, 2025 — 7 min read


I recently rewrote my resume using Typst, a markup language for documents that is super easy to use and has great support for mathematics. Its goal is to be a more modern and accessible alternative to LaTeX, and I have to say I’m impressed with what I’ve seen so far.
Installation
There are several ways to start using Typst. You can use the official Typst editor, which offers both free and paid plans, or you can install Typst locally and use any text editor you prefer. I chose the second option because I like to have full control over my files and not depend on external services.
I installed the Tinymist Typst extension in Visual Studio Code, which provides syntax highlighting and also a real-time document preview.
The basics
Typst is a declarative markup language, which means you describe what you want to do, and the compiler takes care of how to do it. This is different from imperative languages, where you need to specify each step of the process. For example, to create a heading in Typst, you simply write:
= Heading 1
== Heading 2
=== Heading 3
But what makes Typst so interesting is that you can declare variables and functions, which allows you to create dynamic and reusable documents. For example, you can define a variable for your name and reuse it in various parts of the document, or create a function to calculate the sum of two numbers and use it wherever you need.
#let name = "John Doe"
= #name's Resume

#let add(x, y) = x + y
Sum is #add(2, 3).
For those who have used Markdown or LaTeX, Typst’s syntax is quite intuitive. It also supports a wide range of features, such as tables, lists, images, and much more.
// tables
#table(
  columns: (auto, auto, auto),
  inset: 10pt,
  align: horizon,
  table.header([*ID*], [*Name*], [*Age*]),
  1, "Alice", 30,
  2, "Bob", 25,
)

// lists
- Item 1
- Item 2
- Item 3
Typst also has extensive support for mathematics, making it an excellent choice for academic and scientific documents. You can write mathematical equations using a notation similar to LaTeX, and they will be rendered correctly in the final document.
$ pi h (D^2 - d^2) / 4 $Finally, Typst offers a range of configuration and customization options, such as choosing fonts, colors, and styles. You can define a theme for your document and apply styles consistently throughout the text.
// sets the font and language for the text
#set text(font: "Roboto", lang: "pt-BR")
// sets the paper size and margins
#set page(paper: "a4", margin: 1.5cm)
// sets paragraph justification and line spacing
#set par(justify: true, leading: 0.7em)

// for headings of level 2, set a little space below
#show heading.where(level: 2): set block(below: 1em)
Creating my resume
To create my resume, I followed a few simple steps:
- I wanted it to be a simple document, without too many complications.
- I wanted it to support multiple languages, since I am interested in opportunities outside Brazil.
- I wanted it to be easy to maintain and update, as my resume changes frequently.
So I started by creating an index.typ file where I defined the basic settings of the document, such as paper size, margins, and font. I also created a variable for the document language, which will be used to load the content in the correct language.
#let language = "en"

#set text(font: "Roboto", lang: language)
#set page(paper: "a4", margin: 1.5cm)
#set par(justify: true, leading: 0.7em)
#set list(marker: ([•], [--]))

#show heading.where(level: 2): set block(below: 1em)
Loading the content dynamically
Since I wanted the resume to be easy to maintain, I decided to split the content into different files. For this, I used Typst’s #json function, which allows you to import content from other files. This way, I can easily update the resume sections without having to touch the main file. It also helps me keep the content multilingual, since I can have separate files for each language.
{
	"name": "Carlos Eduardo de Oliveira Paludetto",
	"position": "Senior Software Developer",
	"city": "Sao Paulo, Brazil",
}
#let language = "en"
#let strings = json("./data/" + language + ".json")
= #strings.name
== #strings.positionCreating the header
Now that I have the basic settings and the content loaded, I can start creating the resume header. For this, I used the #stack function to define the header style and display my information.
#stack(
	dir: ltr,
	spacing: 6pt,
	[
		= #strings.name
		#strings.position #sym.dash.em #strings.city #sym.dash.em #strings.email #sym.dash.em #strings.phone
	],
	[#h(1fr)],
	[#link(strings.links.linkedin)[#image("./icons/linkedin.svg", width: 16pt, alt: "LinkedIn logo")]],
	[#link(strings.links.github)[#image("./icons/github.svg", width: 16pt, alt: "GitHub logo")]]
)
Note how I can use #h(1fr) to create spacing between my name and the links to my social networks, similar to the CSS grid metric system when using display: grid. Also notice the use of #sym.dash.em, which is a notation for common symbols like the em dash. Typst supports a wide range of symbols and emojis, making text formatting much richer and more expressive.
Adding the content
After creating the header, it’s time to add the content of the resume. To do this, I iterated over the resume sections and assembled each one automatically.
== #strings.summary.title

#strings.summary.content

== #strings.work.title

#for (company, position, start, end, notes) in strings.work.content [
	- *#company #sym.dash.em #position, #start #sym.dash.en #end*
		#for value in notes [
			- #value
		]
]

== #strings.education.title

#for (course, institution, start, end, notes) in strings.education.content [
	- #course #sym.dash.em #institution, #start #sym.dash.en #end
		#for value in notes [
			- #value
		]
]

== #strings.languages.title

#for (name, level) in strings.languages.content [
	- #name #sym.dash.em #level
]
Notice how easy it becomes to add new sections or update existing ones, you just edit the corresponding JSON file and Typst will render the document correctly. Thanks to pattern matching, Typst allows you to iterate over lists in a simple and intuitive way, making the creation of dynamic documents much easier.
Finally, I just create files with the content for each desired language at the path ./locales/{language}.json. To generate the PDF in the desired language, simply change the language variable in the index.typ file and Typst will automatically load the correct content.
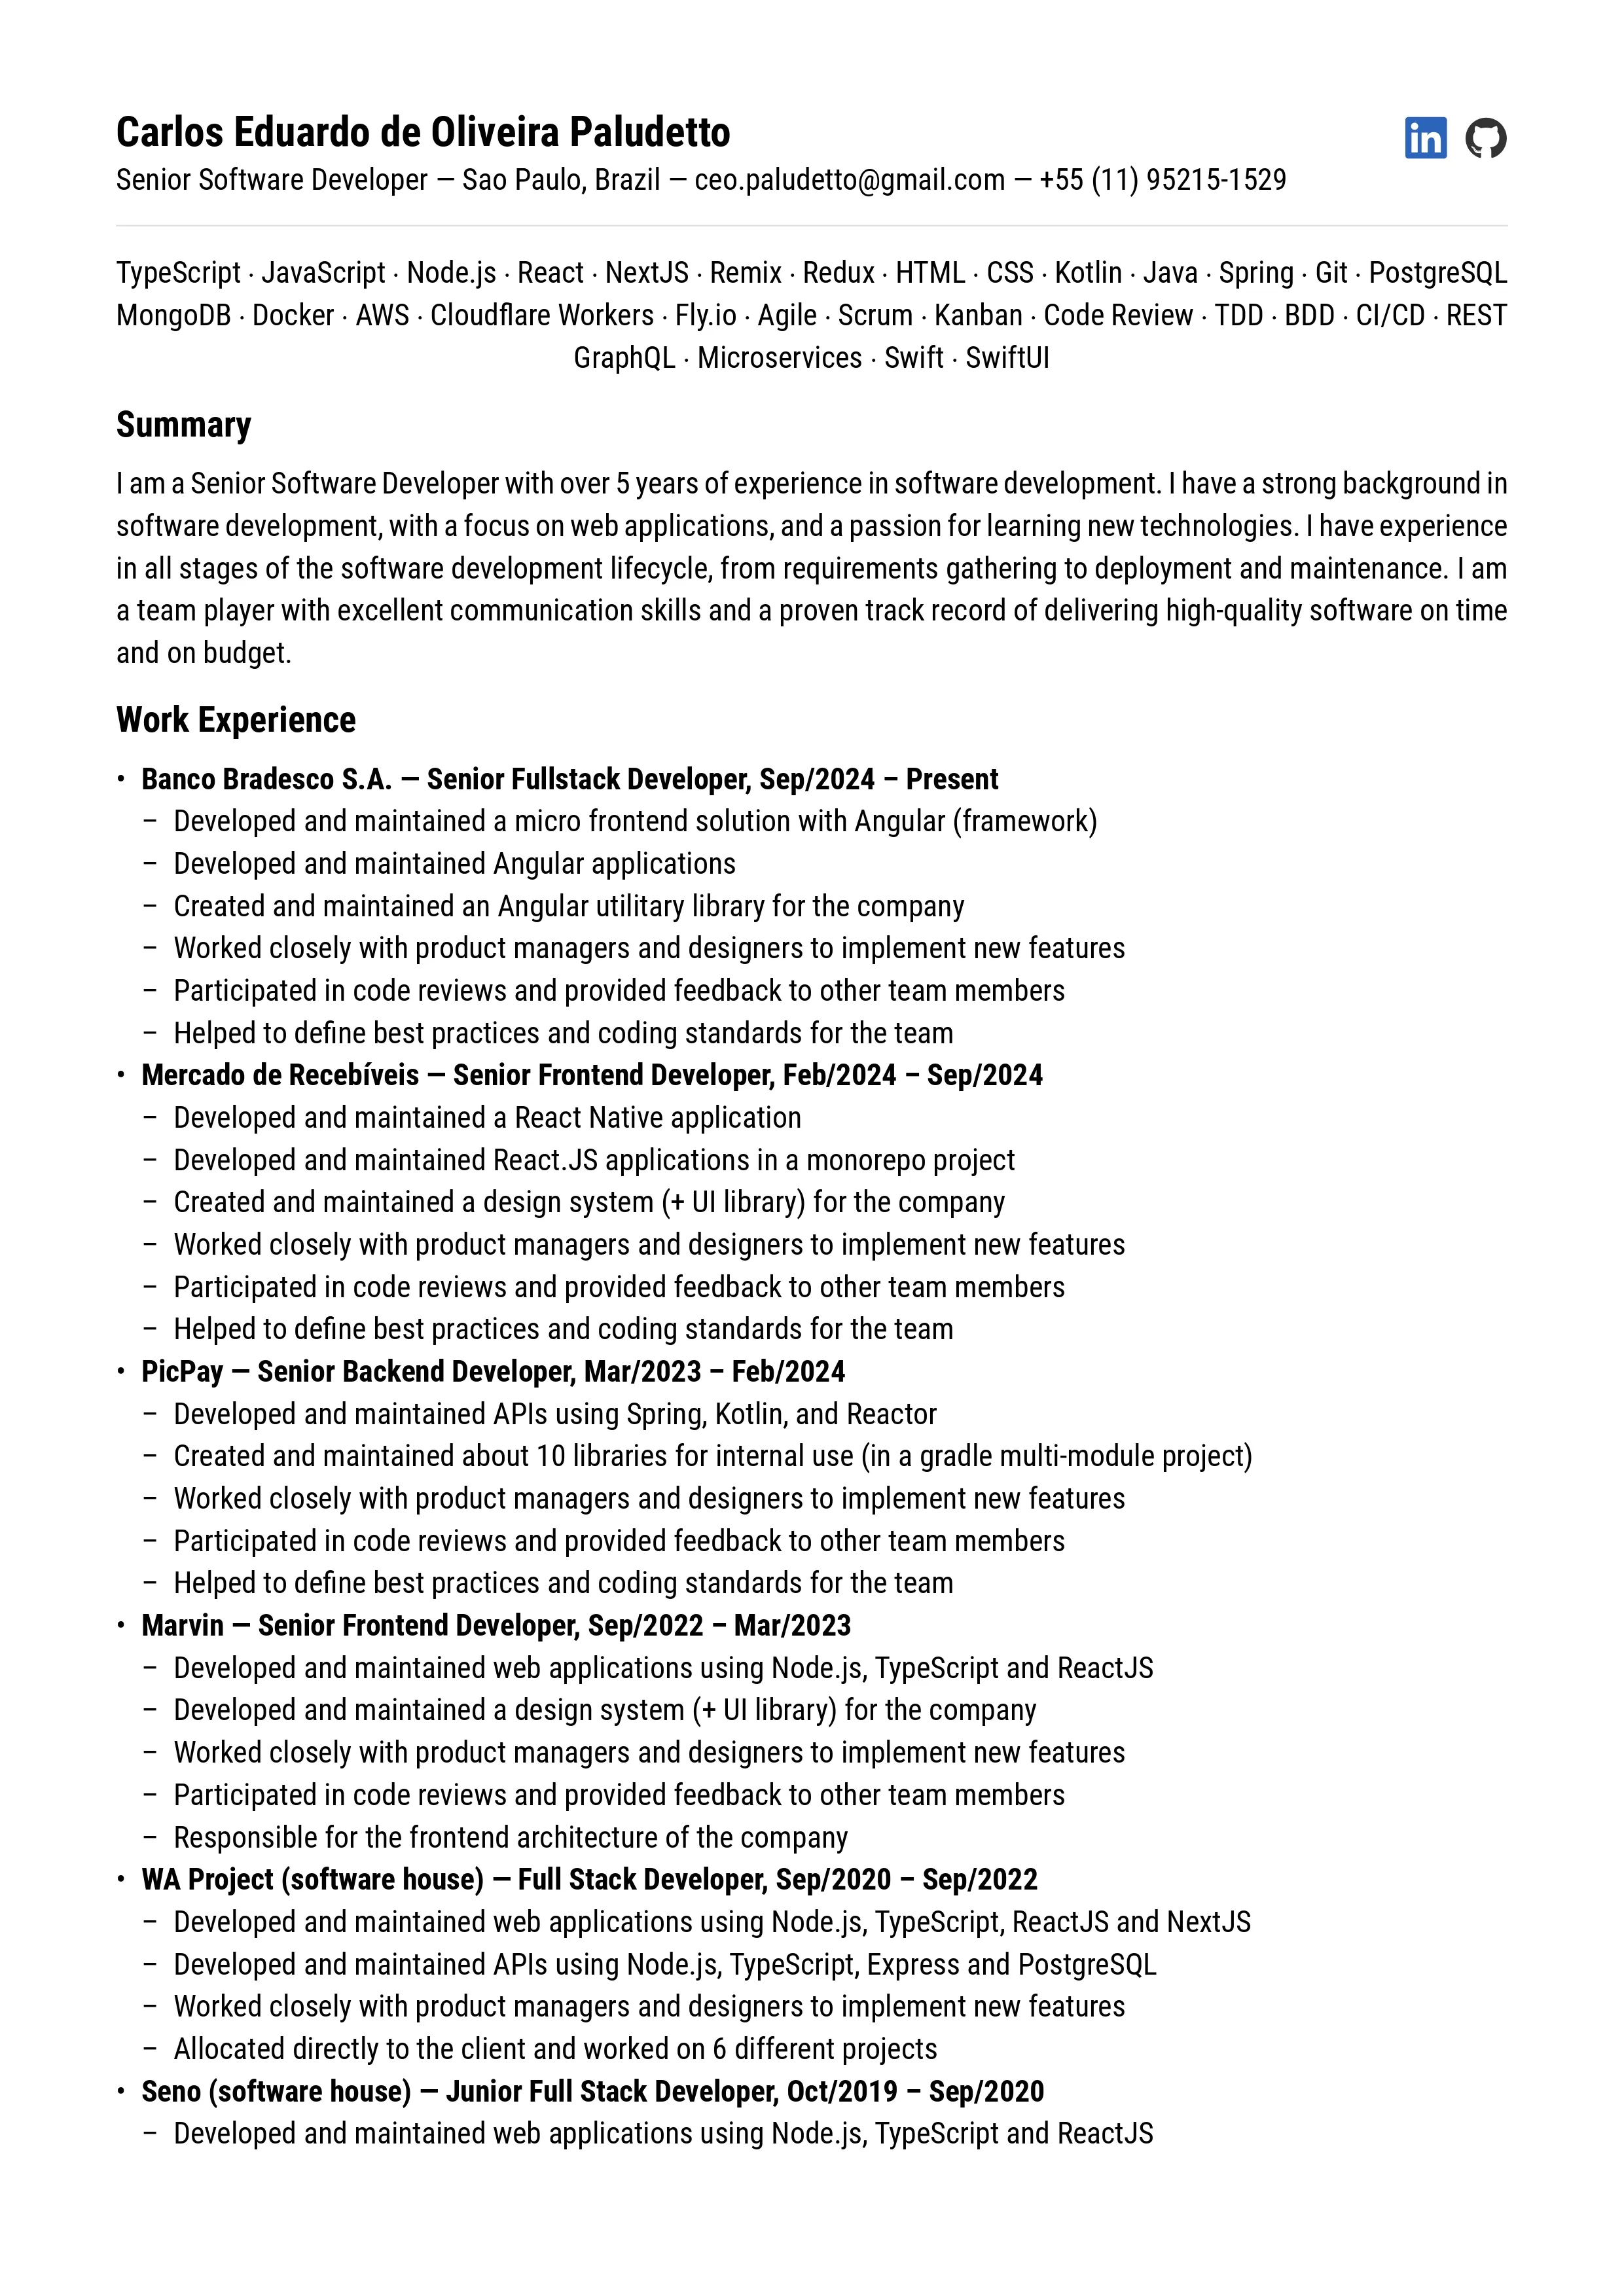
Result
Here is the final result of my resume, which was automatically generated by Typst compiler from the code I wrote. The document is simple yet elegant, and can be easily updated or modified as needed.
You can see the full code for my resume on GitHub.

Why I don’t like WYSIWYG editors
I don’t like WYSIWYG (What You See Is What You Get) editors because they quickly become a complete mess. They try to guess what you want to do, and this often results in a final document that is not exactly what you expected. In addition, these editors do not offer full control over the layout and formatting of the document, which can be frustrating for those who like to customize every detail.
I remember once having to spend several minutes using the ¶ function in Microsoft Word to try to figure out what I had done that caused my page numbering to be positioned incorrectly. There are changes you make in these editors that you will hardly remember how you did, and this can be a problem when you need to update the document in the future. In the case of Typst, since you are writing the document in a markup language, you have full control over the layout and formatting, and can easily reproduce the same result in different environments and documents.
Conclusion
I was really surprised by Typst and I intend to keep using it to create my documents. I hope this article has been useful to you and that it has sparked your interest in trying out this markup language. If you have any questions or suggestions, feel free to contact me.